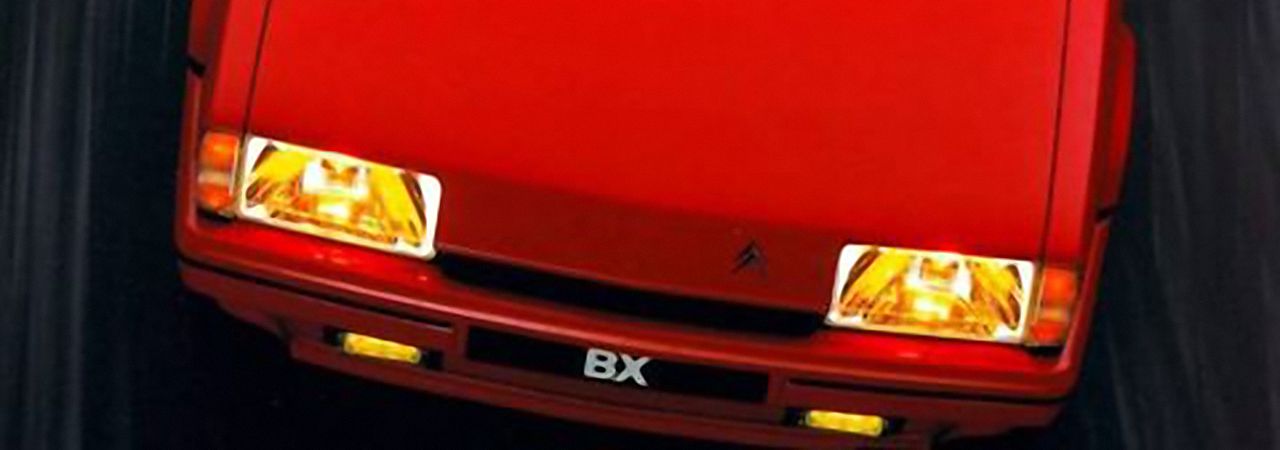
| CITROËN BX do-it-yourself |
|
|
Heating and Air ConditioningTrouble with the blower motorIf it's not working at all, start with checking the fuse #2. Remove the lower shroud of the dashboard (secured by seven screws). A relay is fixed to the right side of the steering column. Turn on the ignition. As you turn the blower speed knob to the full speed position, the relay should click. If it doesn't, check its feed (connector #1). Then jumper its connector #2 to the ground, this time it must click. If it doesn't, it's faulty. If it clicked this time but it didn't when you have just turned the knob to the full speed position, you have to check the heater controls. Pull free the three control knobs (take care, there is a flat spring in each of them, try not to let them fall, they have a tendency to fall through every aperture they might find). Undo the two retaining screws now exposed. Go up to the ventilation grilles, remove them carefully (use a small screwdriver as a lever on one side, these grilles also have flat springs on the sides, take them out carefully). Then look into the aperture where the grilles were. On the left wall of the left aperture you'll find a metal retaining clip. Slide the screwdriver behind it and pull it towards the center. As you do so, the left side of the center console can be pulled out a little bit. Do the same with the clip on the right wall of the right grill aperture, this time the whole center panel will come out. As you remove it, disconnect the cigar lighter wiring. Check that pin #3 of the 5-pin brown connector is at ground level. Then check that the potentiometer formed from the printed circuit board is functioning and the wiper arm is making good contact. If the relay clicks but the blower motor doesn't turn, the motor is suspect. Jumper the connector #3 of the relay to the ground, the motor should start in full speed. If it doesn't, first check for 12 V at the main board connector III/6 (a 6-pin white connector) at pin #1, then directly at the motor terminals. The motor is located in the engine compartment, in the bulkhead cavity just forward of the windshield. You can disconnect the wiring without further disassembly but if you need to repair or replace the motor: remove the wiper arm and spindle nut. Remove the retaining clips and prise free the rubber seal from the top of the wall between the cavity and the engine compartment, then remove the plastic covering the motor. Prise free the clips retaining the air intake grill (the one the wiper spindle is going through) and remove the grill. Remove the three retaining bolts and lift the motor out; you might find it easier to do if you unclip the round air intake grill as well. The motor housing can be separated into two half-housings after unclipping. If the motor worked when you jumped the wire, move this jumper wire to connector #5 of the relay; the motor should stay on. If it does, check the yellow wire starting from this relay connector going through pin #6 of III/6, all three pins of II/4, finally to the grounding spot along the left side of the steering column. If the relay and the blower motor work well in the full speed position but the lower speeds are faulty, locate the control module (a single transistor sitting on an aluminum heat sink, on the underside of the steering column; it was later moved into the blower motor housing). Using a test lamp or a voltmeter, check that the voltage present in the green wire with blue sleeve (later modules: pin #5) connecting to this module changes gradually as you turn the operating knob on the dashboard. If it does, look for similarly changing voltage in the other wire (yellow but with white sleeve; later modules: blue wire at pin #1). If the voltage is correct in the second, the relay is faulty, otherwise the transistor. The newer modules are grounded separately through a blue wire at pin #2 and connected back to the center console knob by a brown wire at pin #4, check these before condemning the transistor. Remove the module, desolder the transistor, remove the securing rivets by carefully drilling them. Buy a 2N4399 or MJ4502 transistor at a common electronic parts store (both are manufactured by several companies including Motorola and STMicroelectronics: PNP power transistors, 60 V [2N4399] or 100 V [MJ4502], 30 A, 200 W, TO-204AA [formely known as TO-3] package). Just for the record: the original transistor was an SGS-Thompson FW26025A but this is an internal factory name and is not available anywhere, nor will SGS-Thompson reveal its true identity. The suggested replacement transistors are, although not 100% equivalent, good replacements and being components in widespread use in the electronics industry, should be easily and cheaply available. The only difference to the original transistors is a slightly lower speed of the blower motor but in the BX (unlike in the XM, for instance) the full speed bypasses the transistor through the relay you have just checked, so the actual full speed will not change. Grease the bottom of the new transistor with silicon grease (if you omit this, the efficiency of the heat sink will be much lower, although the circuit will work, the transistor will run significantly hotter), secure it with bolts and nuts and solder its two terminals. Later BX and BX 14 models have a resistor on the module. Check and renew it if necessary. Refit and reconnect the module. Squeaking blower motorThe theoretical solution is plain and simple: lubricate it. In practice, however, this means removing and disassembling the motor (as described in the answer to the previous question)—not something you would want to do every six months or so, wouldn't you? But if you do it once, you can modify it so that you can lubricate it later as often as you feel necessary without going through the hassle of removing it any more. Indeed, the word modification is an overstatement. All it takes is drilling a small hole in the casing. The motor is located in the left side of the housing, secured by two bolts (to remove it, its two connectors must be removed as well). There are several radial reinforcing fins of the plastic half-case facing the engine between the center part housing the motor and the perimeter. The upper vertical one is about 1 cm wide and is situated exactly above the motor mechanism. Drilling a small hole in the lower third of this fin will be more than enough to allow the motor below to be lubricated whenever necessary. After that, it can be covered with adhesive tape to prevent the ingress of dirt. Leaking heater matrixIf the carpet is constantly wet in the footwell and you lose coolant slowly, no doubt, the heater matrix (the actual heating element) is leaking. There are two pipes crossing the bulkhead behind the engine, on the right side. Look up beneath the lower trim panels in the cabin: the pipes go through a black box, the valve you open and close by turning the red-blue control knob on the center console. If the valve is opened, the hot coolant flows through the heating element, transferring its heat to the air blown through it. The heater matrix is quite similar to the coolant radiator, only smaller. Their possible failures are also very similar. Small holes can be soldered or filled with a special brass-like putty used to repair leaking radiators, cracks of the plastic parts can be repaired with epoxy glue. The metal radiator and the plastic head with the two yellowish pipes can separate and leak water, these can be glued back and sealed (clean the surfaces first, let them dry thoroughly and use bathroom silicone; there are two versions, the usually transparent one used for fitting appliances is stronger than the colored one used for aesthetic purposes). But you'd better track it down and repair locally than to use a fluid stopping liquid like Holts Radweld; such liquids can cause damage in other places in the cooling system, clogging and blocking small passages or the radiator. Or you can vote for a replacement radiator, possibly from a salvage yard. The question is whether a salvaged matrix is in a better shape than yours currently is. The inner end and the sides of the matrix are covered by a spongy plastic. This plastic becomes sticky and peels off easily when old. So, if this covering is still intact, there are no visible signs of rust and coolant residue, the radiator and the plastic head don't fall apart easily, you have probably found a good matrix. Fill it up with water and check that it stays inside. To replace it, you have to drain the coolant first (with a cold engine, for sure). Place a bowl (capacity: at least 7.5 liters) beneath the radiator and loosen the clip on the bottom hose. Turn the heater knob to the hottest position. Remove the filler cap. As the coolant starts to flow out, remove the bleed screws: one on the top of the radiator, opposite the filler neck, one before the thermostat on BX 16 and 19 and one behind the engine (older 14 engines have it on the hose leaving the de-aeration chamber; older 16 and 19 engines on the hose returning from the heater matrix through the bulkhead, just behind the right side of the engine; newer 16 and 19 engines, including the GTi in the center of a pipe crossing right behind the engine). On right-hand drive cars you have to remove both steering column shrouds, unbolt the column mountings, separate the universal joint and withdraw the upper steering column. On left-hand drive cars it's much easier: simply remove both gloveboxes. Put a smaller container and a rag underneath the pipes. Undo the four screws on the heater tap, two screws retaining the matrix in the heater and, from underneath, one bolt which retains the tap to the whole heater unit. Prise apart the retaining clips around the yellow panel of the matrix. Withdraw the matrix carefully, as soon as it appears, pull by the unit itself rather than by the two yellow pipes. If you find that some control links are blocking your way, detach them. When refitting the new matrix (or the old one repaired), you'll have to struggle a little to pass the base of the yellow pipes over the tap—Haynes suggests detaching the coolant pipes, removing the tap, disengaging and removing the control cable, however, I did manage without any further disassembly. To refill the cooling system, reconnect the bottom hose, leave the heater in the hottest position and fill in the water-antifreeze solution (as required by your climate) through the filler neck. After 6 (BX 14) or 6.5 liters (BX 16/19) slow down and keep an eye on the bleeding holes. As soon as the coolant starts to emerge through one, close that one. Top the system up to the standard level, run the engine in high idle while the fan cuts in and out, wait for the coolant to cool down again, then check and correct the level if necessary. | ||
|
Webmaster: Gábor DEÁK JAHN. Visitors: 253,533 Page hits: 651,163 Since: June 5, 2003 |